Have you ever felt that sinking feeling in your stomach when you find out that your program is about to be audited? Have you ever had to mentally prepare yourself to spend endless hours gathering documentation? Preparing for a case file audit can be daunting. Fortunately, Apricot provides multiple ways to efficiently locate and print the information you need. Whether you need to print in bulk, select specific records, or build a custom report to gather just what’s required, this guide will walk you through the steps to ensure you’re ready for your audit.
-
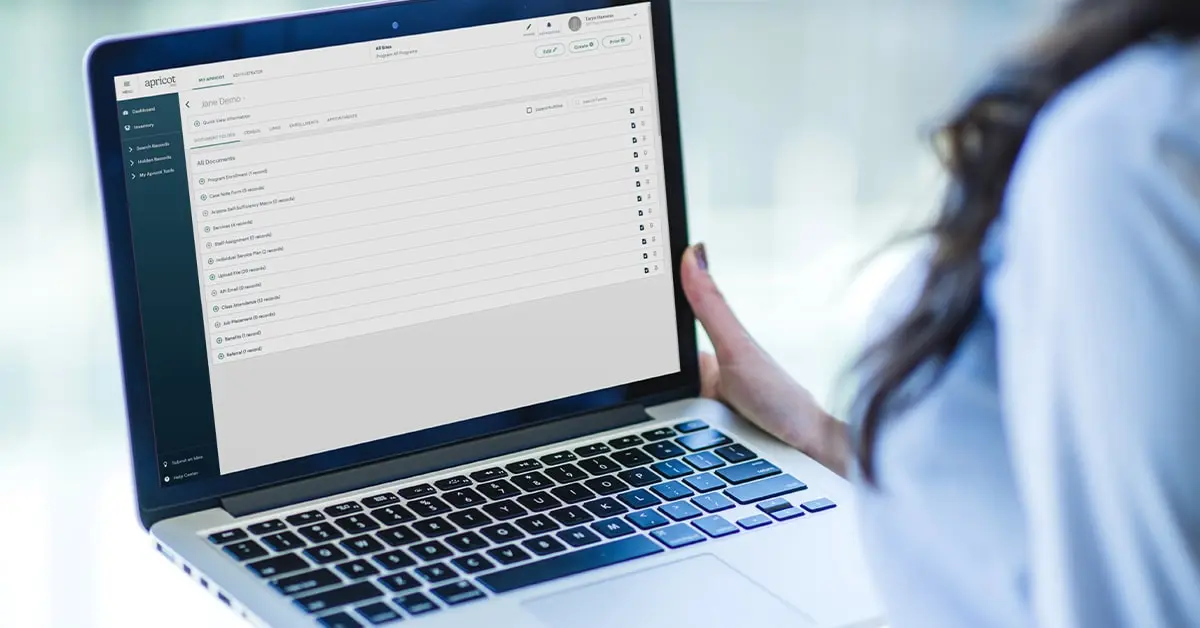
Printing in Bulk from the Document Folder
When you need to print multiple records at once, printing straight from the Document Folder in Apricot is incredibly useful. Here’s how you can do it:
1. Access the Document Folder print feature:
- Navigate to the Document Folder of the individual or group that has the data you need
- Select the “Print” option in the upper right corner
2. Filter Your Documents:
- Use the filters available to narrow down the documents you need. You can print multiple records across multiple forms, choosing all records in the folder or specific records based on date range, type, etc.
- Once filtered, select the documents you need by checking the boxes next to each file.
3. Print Selected Documents:
- After selecting the documents, click on the “Print” option. Apricot will allow you to either download the documents in a batch as a PDF or send them directly to your printer.
- If you choose to download, open the PDF file and print it from your computer or use it as an attachment.
This method is ideal for printing all relevant documents tied to a case file in one go, ensuring nothing is missed.
-
Printing Specific Records
If you only need to print specific records, perhaps to review a particular aspect of a case file, Apricot makes it simple:
1. Navigate to the Record:
- Find the record you want to print by either accessing the Document Folder or by using specific filter criteria on the search page
2. Open the Record:
- Click on the record to open it. You’ll see all the details, including any forms, notes, and attachments
3. Print the Record:
- On the right side of the screen in the Record Options palette, you’ll see a button for “Print Mode”
- Once clicked, Apricot will format the record for printing and allow you the opportunity to customize some settings
- You can then send it to your printer or save it as a PDF if you need to print it later or use it as an attachment
This method is perfect for cases where only specific entries or details are needed for the audit.
-
Building a Custom Report for Targeted Printing
Sometimes, you might need to compile specific information across multiple records. Building a custom report allows you to pull in just what you need, making the printing process more efficient.
1. Create a New Report:
- On the Administrator side of Apricot, head to the Reports page and click “Create New Report” on the right side of the screen
2. Select Fields and Filters:
- Add the fields you need to the report by dragging them from the available options. For example, you might want to include client names, case numbers, dates, and specific details relevant to the audit
- Use filters to narrow down the data. You can filter by date ranges, specific tags, or any other criteria that match the audit’s requirements
3. Generate and Review the Report:
- Once you’ve selected your fields and set your filters, publish and run the report
- Review the report to ensure it includes all the necessary information
4. Print the Report:
- Like when printing a record, select the “Print Mode” button in the Report Actions palette on the right side of the screen. You’ll have the option to print directly or save it as a PDF.
This method allows you to gather all necessary data in one place, reducing the need for multiple print jobs and ensuring consistency across the records.
-
Creating a Highly Formatted Results Report
For some case file audits, you may be required to provide information in a highly specific format. Think reports that present as letters, documents that include your letterhead, etc. The only way to build reports with custom formats is to use Apricot 360’s Results Reporting platform. Having these customized reports built and ready in your system can significantly ease the strain organizations experience when asked to provide large amounts of documentation while adhering to specific guidelines.
While Administrators can create these reports, Treadwell is always ready and willing to help! For more information, reach out to us.
Final Tips for a Smooth Audit Preparation
- Double-Check Your Data: Before printing, review the selected records and documents to ensure no crucial information is missing.
- Use PDF Format for Digital Audits: If your audit allows for digital submissions, consider saving your documents and reports as PDFs. This keeps everything organized and easily shareable and saves paper!
By following these steps, you can efficiently prepare for your case file audit, ensuring that all necessary records are easily accessible and well-organized for review. Apricot’s versatile printing and reporting features make this process straightforward, allowing you to focus on the audit itself rather than the logistics of document preparation.
Need help with Case File Audits in Apricot?
If you need help with case file audits in Apricot, Treadwell (Bonterra’s certified implementation partner) is here to help.
Our team of experts specializes in helping nonprofits like yours maximize the potential of Apricot through tailored solutions and expert guidance. Contact us today to book a consultation and start your journey towards a more streamlined and efficient Apricot experience.